


Subscribe to The Bead Table
Oct 31, 2014
Oct 17, 2014
5 Wrap Tahoe Bracelet in 3 Color Palettes
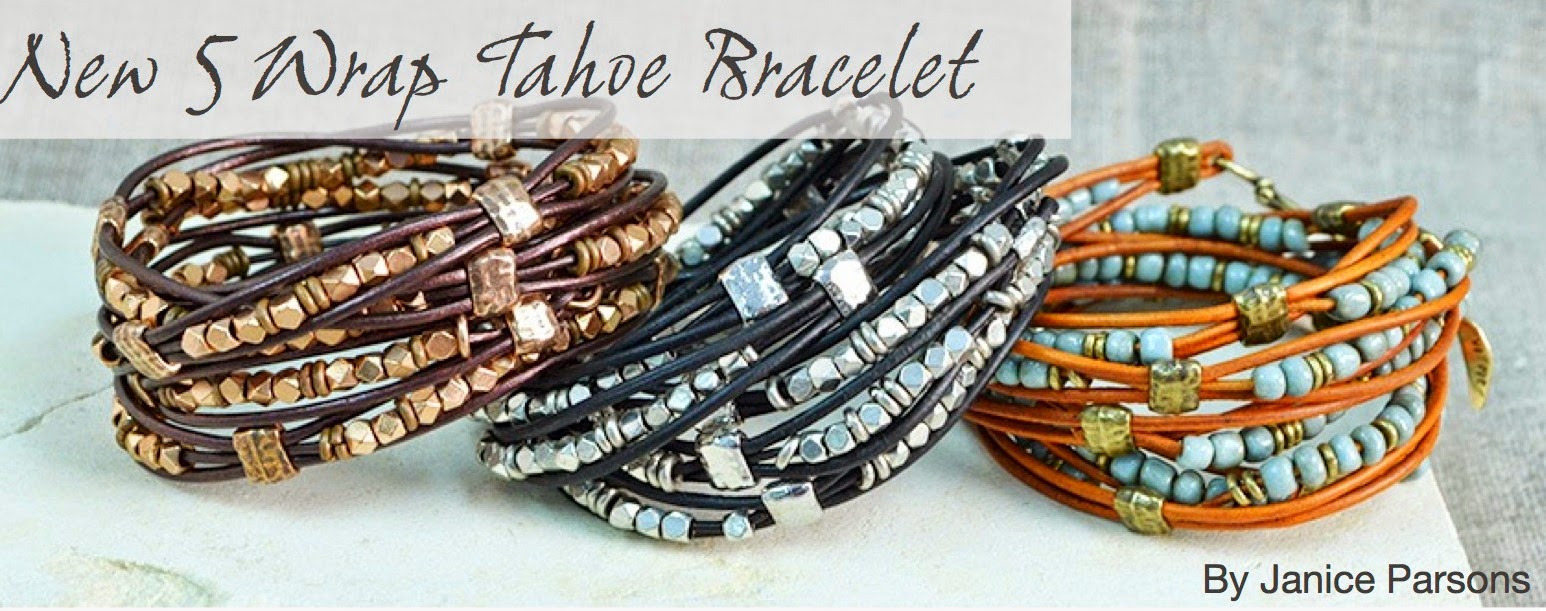
The response to our new 5 Wrap Tahoe Bracelet by Janice Parsons has been absolutely wonderful. By building upon the original Tahoe bracelet, she has created a stunning piece of jewelry that can be completed in only a few hours. I have chosen to highlight the Black and Silver version in this post, but we do have three color palettes available. Of course, those can be found at www.beadshop.com. Happy beading!
Project Level: Beginner
Time to Complete: 2-3 Hours
Ingredients
-1 Strand Silver Shadows (Uses about 2/3 of a strand)
-1 Strand Silver Heishi (Uses about 1/2 strand)
-4 pkg. of Transitions in Silver (16 beads) or Pewter
-1 Big Hook Sterling Silver or Round and Round in Silver
-2 yards of Black Indian Leather 1.0mm
-2-1/2 yards of Black Indian Leather 1.5mm
-1 Be Still Charm in Antiqued Silver
Studio Essentials
-Flush Cutters
-Eurotool Nylon Jawed Pliers and/or Chain Nose Pliers
-Measuring Tape or Handy Tape

The bracelet is meant to wrap 5 times around the wrist,
so be sure to measure your wrist loosely using the tape measure. You
will then multiply that number by 5 and that is your total length. My
total bracelet length for this sample is 35-1/2 inches. The measurement
of the clasp has to be factored in to your goal measurement length. The
photos below represent the techniques using the Tahoe Silver &
Black, but will work as well for any colorway. If you use beads in your
studio, they must have holes large enough to fit the 1.0mm leather.

Cut
one length of 1.5mm leather to a length up to 2-1/2 yards or 90 inches.
If you have a small wrist, you can cut less, 2+ yards or 80 inches.
Your 1.5mm will be doubled over, so that's why you have a long piece.
Cut your 1.0mm leather 1-1/2 to 2 yards (54-72 inches) depending on a
small or large wrist. The 1.0mm leather is only one length down the
middle but you want to have enough to double back at the end into the
clasp.
Feed the 1.5mm leather
through the eye of your clasp and bring the leather to the halfway
point, so it is even on both sides. Slide a Transitions bead up to the
clasp. Give it some air so the clasp can wiggle freely.
Using your Flush
Cutters, angle cut the 1.0mm leather and feed it into the Transitions
bead in the middle. It needs to live as the middle row of leather.

Using your Chain Nose Pliers, gently but firmly press
down on your Transitions Beads. Rotate the pliers so you can crimp the
Transitions bead again from the other side. Trust me, the bead will
flatten, so do it gently but firmly. Check that the crimping has
captured all strands of cord before you cut off your excess leather with
your Flush Cutters.

Begin stringing your first random pattern
of beads on your 1.0mm leather. Be sure to angle cut the leather as you
need to ensure any small hole beads fit onto the leather. Each section
is of random beads is about 2 inches in length. Some sections might be
longer or shorter, but be sure to leave open leather on both sides of
your beads to allow your beads to move. String on another Transitions bead. Leave some space and repeat the crimping process. Continue to string beads and crimp. Each pattern is random.

I found stringing the two ends of 1.5mm leather through
the Transitions bead first easiest. Then I strung beads on the 1.0mm
leather and fed the angle-cut end into the Transition bead. Make sure
the 1.0mm leather sits in the middle and all strands are sitting
side-by-side before crimping. Since the wrap bracelet is going to “wrap”
around your wrist, any imperfections of length will probably not show.
Just make sure you allow room for the beads on the middle strand to move
freely.

Make sure you keep trying it on as you get close to
your finished length….nothing is worse than not making it long enough
and it’s too short. Think about adding a charm onto the 1.0mm leather
after
your last bead. Add another Transitions bead after your last
bead/charm.


String on the second half of your clasp and loop the 1.0mm leather back
through the Transitions bead. It might be a tight fit, but you should be
able to do it if the leather has been angle cut. Position the
Transitions Crimp so it allows the clasp to wiggle freely and there is
room for any charms to also move. Check the crimp is securely holding
the leather in place.

Using your flush cutters, carefully cut off any excess leather. You now have a finished 5 Wrap Tahoe! Enjoy!
Oct 3, 2014
Beading Day with the Beadshop.com Team
 Every other week, our small team gathers around our bead table for a lesson in beading. Prior to the class, Janice chooses a technique that she thinks would be both fun and challenging for us. Then, she sets up a warm and inviting classroom environment and calls us to the table for an afternoon of laughter and learning. This week, we focused on patterning various beads into multi-strand bracelets. We used our Tricks of the Trade handout and an assortment of beads, wire, crimp covers and clasps.
Of course, we were so excited when we sat down to the table and saw that Janice had included her personal collection of beads in our class supplies. You can be sure that we have all admired Janice’s baubles and beads many times throughout our time here. As we “ooh-ed” and “aah-ed" over the gorgeous assortment of beads, we did begin to wonder how we could create a cohesive design with an eclectic mix of beads that were not identical.
Ever the voice of wisdom, Janice promptly reassured us that things don’t have to match perfectly to work well together. One only has to look at each unique member of the Beadshop.com team to see that truth!
 Instead of focusing on the differences between the beads, we needed to see how the various shapes and colors could blend into a single, cohesive design. We began by stringing beads along the first strand of the bracelet - following our instincts to create a pattern or story. From there, we moved on to the next strand by choosing beads that would echo or speak to the first pattern created. As we beaded our way through the afternoon, we began to see that our seemingly mismatched bracelets were, in fact, transforming into incredible pieces that we could not wait to wear. In fact, many of us stayed late on that afternoon to finish our creations.
We were all incredibly happy to have learned such a wonderful beading and design technique, but it also seems that there was another lesson that Janice wanted to make sure we took away from this beading day: vastly different elements can often be combined to make something beautiful if we are patient, don’t rush to finish and let our creative voices wander.

We hope that you will use this idea to create your own unique bracelet or necklace. Happy beading!
Subscribe to:
Posts (Atom)
Flash Sale Friday...get creative!
Last week Kate went shopping for some special strands at a local gem show, and she brought back six stone strands she couldn't live with...
