Apr 24, 2014

Project Update: Harmonies Wrap Bracelet


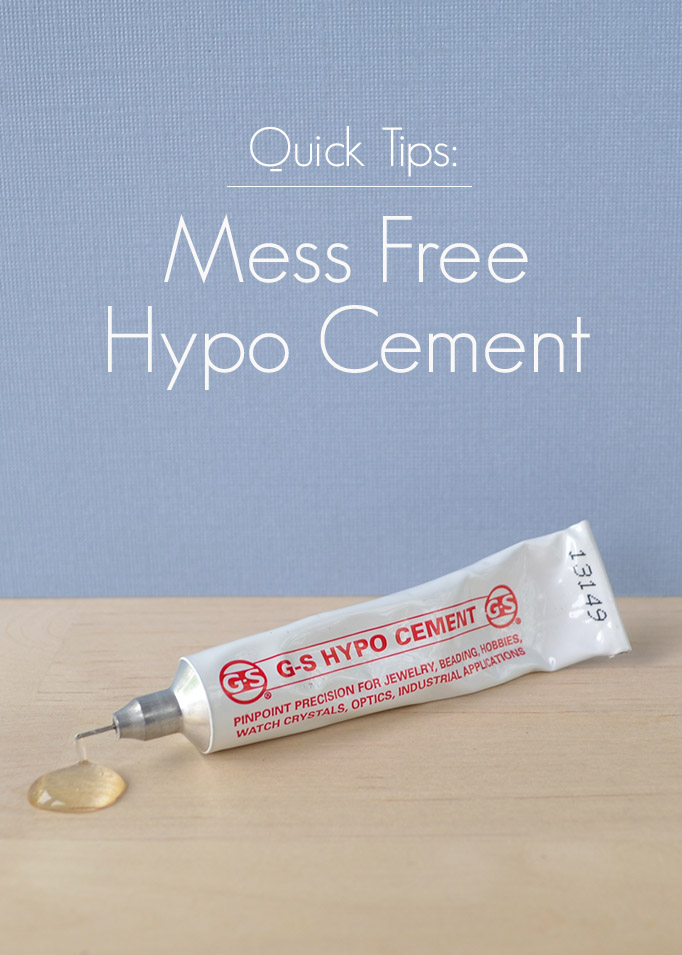
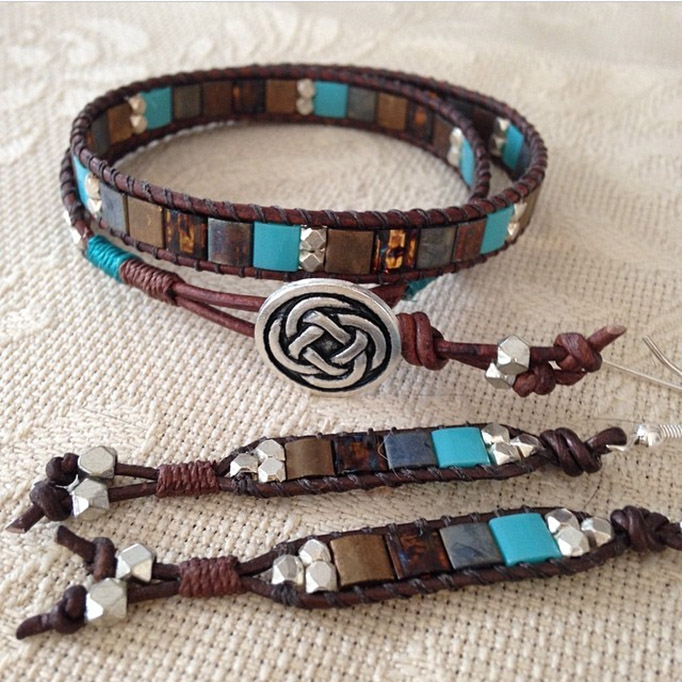
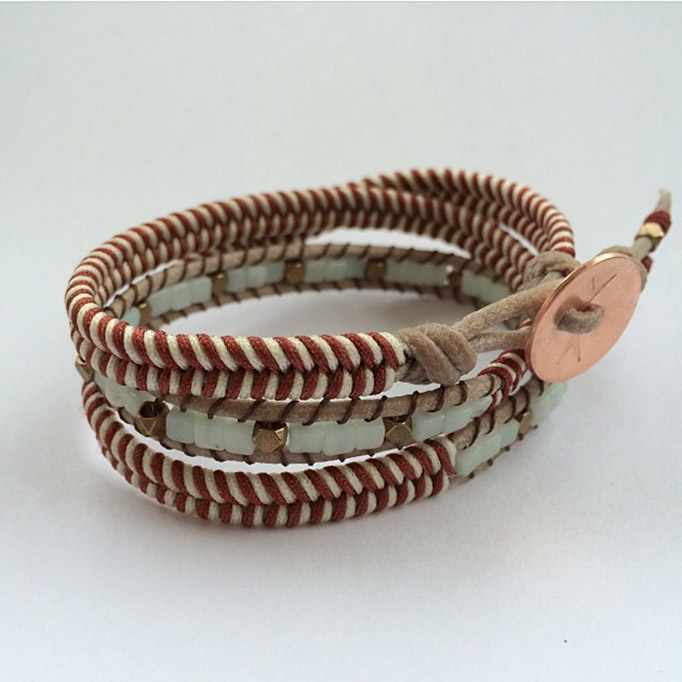
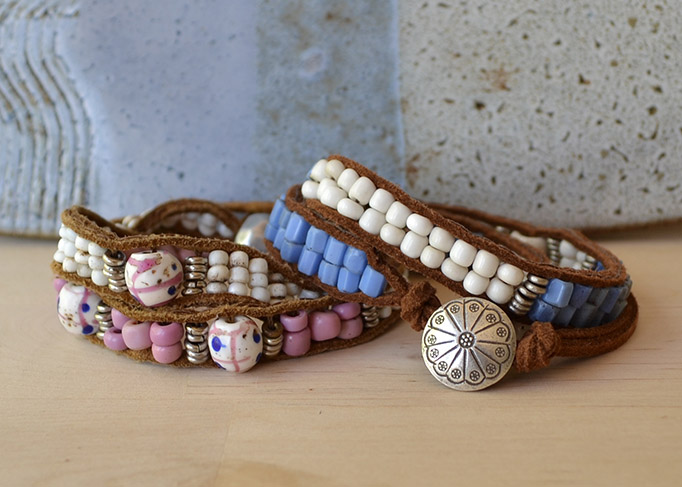
When I first started working at beadshop.com, we were based in Janice’s apartment. Besides the home cooked lunches and the luxurious garden patio, one of my favorite things about the home-office environment was seeing Janice’s collection of inspiring jewelry every day. I would constantly be getting inspiration not only holding and examining the jewelry, but from hearing the stories behind it. On my very first day, Janice was wearing a beautiful wrap bracelet that Nicole had made her. We have it up on our site as the Cinnamon Spice Wrap Bracelet. Nicole was there at the time, and told us about how intensive making the bracelet was. This project was made just before the laddering trend really started, so Nicole used suede and actually stitched every row individually. Because she was going to put so much time and effort into this project, she picked some truly gorgeous and unique trade beads to make the effort worthwhile. Since that time I have felt the need to make my own version. Click on to see the whole project.

Apr 22, 2014

Quick Tips: Mess Free Hypo Cement


G-S Hypo Cement is by far one of our favorite glues for jewelry making. We use it in all of our leather wrap bracelet projects, and it is so easy to use with it’s fine-tipped applicator. That being said, once the glue starts coming out of the tube it’s not about to stop. It can get messy fast, and this is a challenge when you need to use it multiple times in a row for one project. Often you can pull the cap off to find a dried mess of cement from the last time it was used. We have struggled through this issue because we love the glue so much, but recently we were given this little tip by Linda Hartung, fellow designer and gluing expert! Her tip is sure to fix all of your Hypo Cement leaks!


This trick is so simple too! All you will need is some rubbing alcohol and latex free makeup sponges. Both are readily available at your local drug store. Simply soak the sponge in the alcohol and set aside. Whenever you set your G-S Hypo Cement down to work on your project, stick the applicator into the sponge. This will discourage it from leaking, and any glue that does come out will be dissolved. Make sure to wait a few minutes before putting the cap back on to keep the glue from leaking after you have closed it. Who knew that this pesky problem had such an easy fix? Thank you, Linda!

Linda Hartung also has an incredible website where she creates custom wire products for jewelry designers as well as custom clasps. Visit www.alacarteclasps.com to learn more about her passions in the bead world.

Apr 18, 2014

Quick Tips: Setting up a Design Board


One of the best things about working at beadshop.com is getting to speak with beaders every day about the projects they are working on. Often we get asked complicated questions about advanced techniques and subjective design decisions which spur on great conversations about someone’s project. These are always wonderful discussions, but it is just as much fun helping new beaders learn the simple things like what size leather is appropriate for their project or what a crimp bead is used for.  This series of posts is intended to help new beaders (and some of the experienced ones) with the basic techniques that we don’t always go over in our videos.

To start us off, one of the most common questions we get asked is how to set up a design board. While we do show this in various videos and handouts, it makes sense to have one definitive article that quickly answers that question.


The first thing to do is determine how large of a bracelet you will be making. For smaller projects like our Bollywood Bracelets or Stackable Ladder Bracelets, you can use the narrow axis of the board to set up your project. Longer wrap bracelets like the Mosaic Wrap Bracelets or Folklorico will require you to wrap the entire length of the board. If you are making a bracelet that is 5 wraps or longer like the In the Garden bracelet, you may want to consider using an Ultimate Design Board which can be set up in the same way.


You will need other supplies to create your bracelet, but to set up the board you only need four things: a design board, a button, your leather (or alternative base cord), and a piece of rat tail to tie your leather up to the board depending on how long your bracelet is. If the leather is long enough, you can forego the rat tail and use the excess leather to attach your bracelet.


We plan on continuing this series of articles with quick how to’s once a week. What other techniques would you like to learn? Let us know in the comments and we will do our best to make sure that even if we can not publish an article on your question, we can still get back to you with an answer. Thank you, and happy beading!

Apr 8, 2014

Instagram Contest Winners


We love photography at beadshop.com, so it makes sense that we fell hard for Instagram. This little app makes it so easy to take a simple photograph and turn it into something special. When we first joined, it was so much fun to look through all of the creative beading ideas out there that we decided it was time to see everything that you have been creating. That is where our first Instagram contest came from, and we have been absolutely blown out of the water by everything you have submitted! With over 200 entries, it was very difficult to narrow down our favorites. That being said, we have managed to choose 3 winners that have inspired everyone in the office.

First Place-$100 gift certificate to beadshop.com and 2 week editorial feature@cterril designed this gorgeous set inspired by our Mosaic Wrap Bracelets. The way the design was converted to earrings is completely new to us and we think it is such a great evolution of the project.

Second Place-$75 gift certificate to beadshop.com@_anna_bee_ created this beautiful Herringbone Wrap Bracelet. It had never occurred to us to use two colors of Chinese Knotting Cord simultaneously, and the result is this beautiful twill-like wrap.

Third Place-$50 gift certificate to beadshop.com@gabinsa made bracelets from Tricks to Looming and Bead Weaving, Stackable Ladder Bracelets, and Tricks to Laddering. It is great to see how all of the techniques look lusciously stacked together.

There were many other photos that wowed us, and below is a sampling of a few of them. If you would like to see all of the entries in the contest you can view them on Statigram.


Clockwise from the top left: @marissacorson, @ldoyleloftus, @sistergoldenhair1920, @nuch168


Clockwise from the top left: @da7isay, @dcgraf88, @leathernstone, @svenjabeadwork


Clockwise from the top left: @annettenordell, @laketahoeme@amyy50@lindabdotcom

Thank you to everyone who entered for all of your enthusiasm. We are truly inspired by everything we have you have created, and we can not wait to see more!

Apr 7, 2014

Welcome


Welcome to The Bead Table, the official blog of beadshop.com.


This part of beadshop.com has been long in the making, really for the past year. We have been working diligently on updating the way we bring knowledge to you, and this is one of the first of many exciting projects we hope to launch in the coming year. Our biggest goal on our site is to teach and collaborate with our creative community, and we are so excited to start doing that through this blog!


Here you will find a consolidated feed of all the announcements we make about new projects and other points of interest. Mostly, however, we plan on making this your go-to place for learning. We want to bring you the most helpful and original content possible. This includes in- depth project tutorials, quick and easy beading tips, information on selling your handmade creations, and so much more. Our community has so much to share, and we can not wait to get the information out to you!


So, let’s bead together. The learning will come right to you so the trip is short and sweet. Pull up a chair and learn something new. Then share with us what you’ve learned about beading, about your self, about life...because that is what beading does.


Stay tuned, because tomorrow we will be announcing the winners of our Instagram Challenge, as well as many of our favorite entries.

Happy beading, from all of us at beadshop.com

Flash Sale Friday...get creative!

Last week Kate went shopping for some special strands at a local gem show, and she brought back six stone strands she couldn't live with...